General Standard Command Gesture Signal Illustration For Traveling Crane
Jul 14, 2023
General Standard Command Gesture Signal Illustration for Traveling Crane
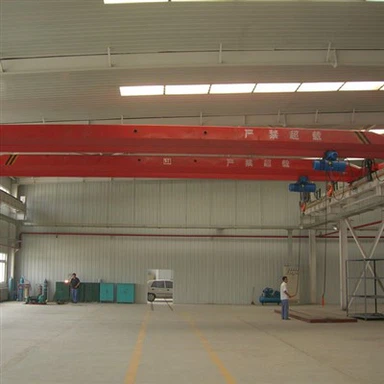
Driving is a common name for 15 ton bridge cranes. In order to ensure the safe operation of driving, many companies will have professional commanders to command the driving drivers when using driving. The driving command personnel must master the crane command gesture signals.
Gesture signals refer to command gestures that are generally applicable to various types of cranes in lifting and transportation. In the general gesture signal, the hook (including lifting ring, electromagnetic sucker, grab, etc.) refers to the empty hook and the hook with load. "Forward" means that the crane is moving towards the commander; , Back, Left, and Right are all based on the driver's location in the command language.
Schematic diagram of general gesture signal action of crane command gesture:

Take a look at the detailed explanation of the general gesture signal text of the crane command gesture with the above picture:
1. "Preparation" (note)
Stretch the arm and put it above the head, stretch out the five fingers naturally, and keep the palm facing forward (Picture 1).
2. "Main hook"
Make a natural fist with one hand, put it on your head, and lightly touch the top of your head (Figure 2)
3. "Auxiliary hook"
Clenched a fist with one hand, the forearm does not move upwards, the other hand stretches out, and the palm of the hand touches the elbow joint of the front hand (Figure 3)
4. "Hook up"
Straighten the forearm to the side and upwards, stretch out the five fingers naturally, higher than the shoulders, and rotate around the wrist (Figure 4)
5. "Hook down"
Stretch the arm to the side, front and bottom, at an angle of about 30° with the body, stretch the five fingers naturally, and rotate with the wrist as the axis (Figure 5).
6. "Hook horizontal movement"
Straighten the forearm to the side and upwards, put the five fingers together, palms outward, and swing down to the shoulder-level position in the direction where the load should run (Figure 6).
7. "Hook slightly raised"
Stretch the forearm to the front and upper side, the palm of the hand is higher than the shoulder, and use the wrist as the axis to repeatedly swing the palm upward (Figure 7).
8. "The hook drops slightly"
Stretch the arm to the front and lower side, the angle between the body and the body is about 30°, with the palm facing down, with the wrist as the axis, repeatedly swing the palm downward (Figure 8).
9. "The hook moves slightly horizontally"
Stretch out the forearm to the side and upwards naturally, put the five fingers together, palms facing outwards, and repeat the slow horizontal movement towards the direction where the load should run (Figure 9).
10. "Inching range"
The two forearms are bent and stretched to one side, the five fingers are straightened, and the palms of the hands are facing each other, and the distance between them is close to the distance to be moved by the load (Figure 10).
11. "Indicate landing bearing"
Straighten your fingers to indicate where the load should land (Figure 11).
12. "Stop"
Place the forearm horizontally in front of the chest, stretch the five fingers, palm down, and swing horizontally to one side (Figure 12).
13. "Emergency stop"
The two forearms are placed horizontally in front of the chest, the five fingers are stretched out, the palms of the hands are facing down, and they are swung horizontally to the sides at the same time (Figure 13).
14. "Work is over"
Spread the five fingers of both hands and cross them in front of the forehead (Figure 14).
When large-scale lifting equipment is in effect, a signal commander is required to direct the operation.
The job signal is to improve the work efficiency and guarantee the safe completion of the job. Therefore, ambiguous, misleading or incomprehensible signals must not be sent.